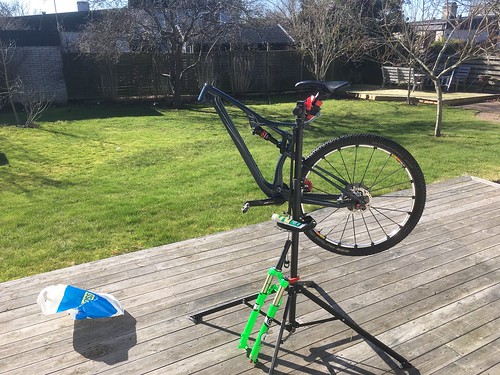
Fork and brakes:The sun showed up, so why not move this project outside!
I shortened the fork steerer, but I kept it quite long, in case I need to adjust bar height later on. Better to cut it once again if needed.
Before I mounted the fork, I routed the gear wire and rear brake hose through the frame. Not that difficult, but it was easier with the fork not there, so I could guide it right with my fingers.
I also decided to put "Moto-style" brake setup: Front on right, rear on left (as they do it in England), since that's the best setup for the routing of cables in the frame. I guess it will take some time to get used to, but I also have a motorcycle, and it - of course - have front brake on right hand, so why not on my MTB?
Now it starts to look like a bike! Fork shortened, cables routed and rear brake mounted:

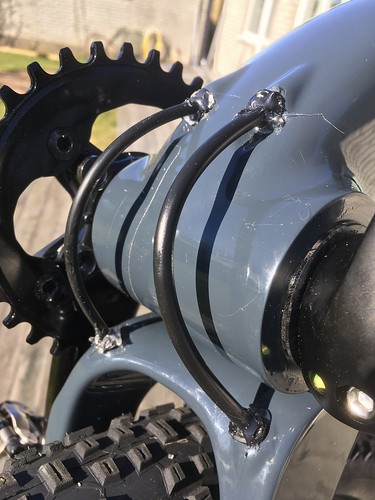
Ok. The brake hose and gear cable housing was laying tight against the frame under the bottom bracket. But when the suspension moved, the cables were scraping against the frame. Not good.
So I put some hot glue (!) in the openings to give the cables/suspension room to move freely.
Looks great, doesn't it?
Maybe not...
But it's alright. Almost no one will look
under my bike!


Time to cut the brake hoses and route them to the right handles. There's a really great
video over at GMBN of how to do that!
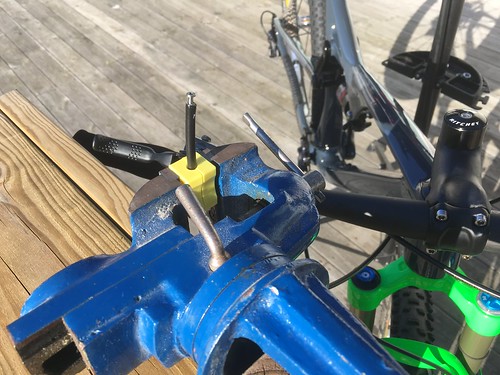
I used a small vise to hold the hose when mounting the barb and olive. Not that messy, but keep some paper or a rag nearby. It's not a great thing to get oil on your brakes...

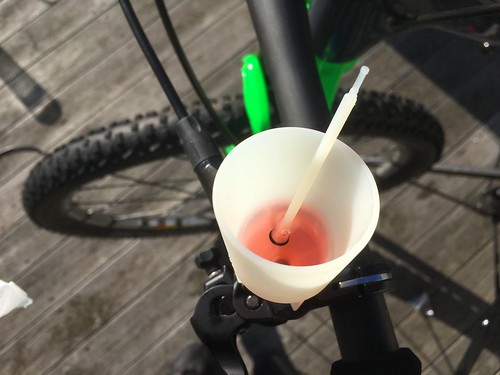
Then I bled the brakes. Shimanos "funnel" makes it really easy. Just screw it on, put some oil in there and watch the bubbles come out as the oil replaces them. Neat.

Ok. Brakes mounted.
Now it's time for gears!