

Chinese Carbon MTB Forums
News:
Happy Holidays!
 See likes
See likes given/taken
| Post info | No. of Likes |
|---|---|
Re: Epic Evo Clone
Hey again, how has this repair held up? I’ve just about given up waiting for the replacement triangle, and i think i’m going to try and repair the inserts myself. Repair is holding up great! The biggest thing you need to get right is that the repaired side needs to be in perfect alignment with the non-broken side, because if you just eyeball it and let the epoxy set and the BB inserts end up being out of alignment with one another the frame will just eat through bottom bracket bearings, or more likely put excess strain on the BB area and cause the threaded bond to fail again. So the way I did it was:
Fairly straight forward. Just make sure you don't go overboard with the epoxy and end up accidentally welding the BB itself to the threaded insert you're trying to repair because obviously that wouldn't be ideal. May 29, 2025, 11:12:07 PM |
1 |
Re: Epic Evo Clone
Looking for what I need to mount this 2025 Fox Float SL? The bushings that came installed out of the box stick out too much for the shock to even fit inside the linkage as pictured. I've built up a number of frames but haven't dealt with mounting a shock before so I want to make sure I order the correct parts the first time around. I believe the rear shock eyelet requires 14mm hardware because I 3d printed my own offset bushings and thats the length I used. The upper shock eyelet requires ~20mm. Both fit an 8mm bolt through them. 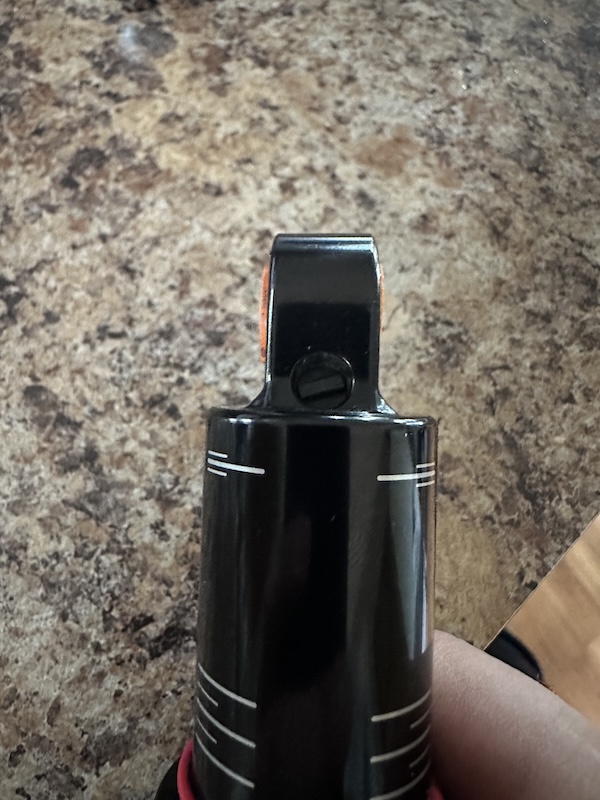 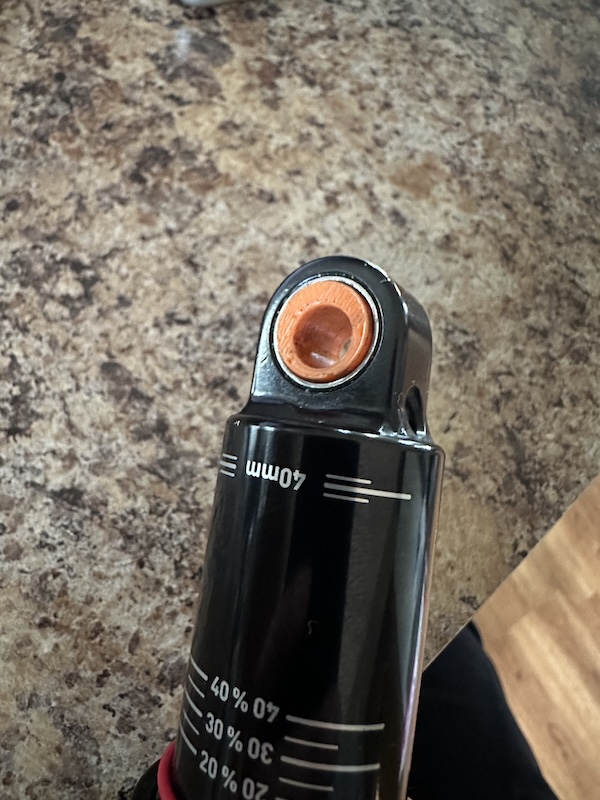 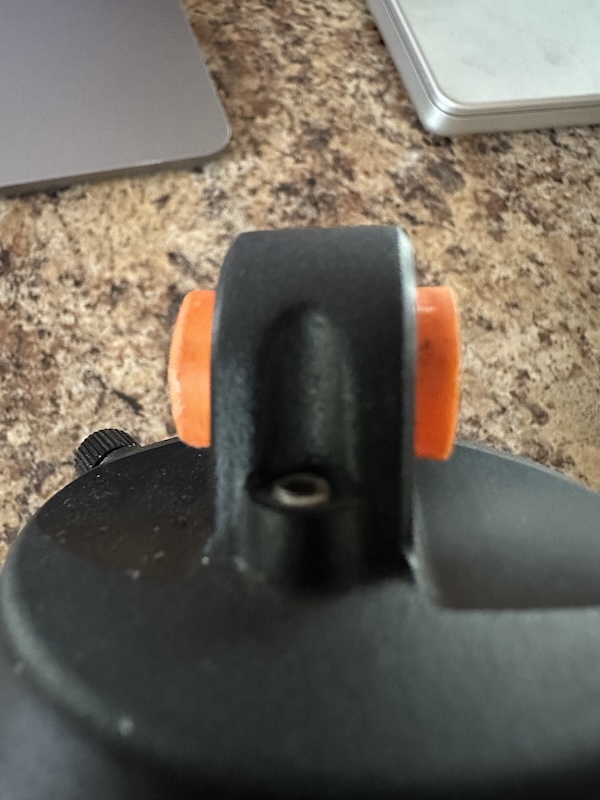 As you see with your shock hardware they always include tiny washers that fit over the insert to stabilize the insert, but with the lower eyelet being only 14mm you're looking at 1mm washers which are hard to find, so I just 3d printed my own (not pictured above, they're installed on the bike right now). 
June 18, 2025, 04:39:14 PM |
1 |
Re: Epic Evo Clone
As a side note, when I ordered I did pay extra for the "frameset+seatpost+shock" thinking that it would include a shock with the frame. Not the best shock but I wanted something on there temporarily. An extra $80. However, it did not come with a shock, only the seatpost. The seller verified that it did not come with the shock so I have chatted with Aliexpress customer service about it and am waiting to hear back. Hopefully a refund for the difference.If its anything like the "with shock" I got, the shock is a pretty crap DNM one but thats expected. The comical part was the hardware they used for the shock might as well have not even been included. It wasn't sized appropriately and there was nothing on either side of the upper shock hardware to prevent the shock from sliding back and forth along the top bolt. June 20, 2025, 02:01:17 PM |
1 |