See likes given/taken
| Post info | No. of Likes |
|---|---|
|
Re: Chasing wind-GT20 OR Airwolf YFR045 carbon Gravel frames , any experience ?
The build was completed with the Sensah SRX 1x11 groupset. The breaks are cable activated ZRACE BR-005 hydraulic disc. I had an older 105 crankset lying around that I combined with a Stone 42 tooth chainring and a ZRACE 11-46 cassette. The build went really smooth and I decided to install only semi internal cabling to prevent sharp bends on the compressionless break housings. The weight comes in at 8.7kg for the bike including pedals, bottle cages and Garmin mount. First impressions are very good but only 150km so far... Here some pictures:      BR Chris April 20, 2022, 02:37:39 PM |
1 |
|
Re: Velobuild GF-002
The routing on these bar/stems is pain in the arse. I spent so much time on it. In the end two things helped, lot of cursing and inserting shifter cables first and then brake cables. But that is still a LOT of work and frustration may ensue. It was much later that I came across this simple trick and used on Fuji roadie to convert to semi icr - February 03, 2023, 12:50:13 PM |
1 |
|
Re: Chasing Wind GT20 Gravel Frame build [update1]
Just sorted out a set of wheels to try a sizing fit to see if I needed more spacers. Pleased with how it looks with the tan side wall tyres. March 12, 2023, 02:50:54 PM |
1 |
|
Re: Interesting Aliexpress finds! - good deals, interesting stuff, new products etc!
Got tired of not finding a cheapo direct mount top tube bag on Aliexpress despite almost every new frame coming with mounts on top tube. Not sure what’s going on there. There’s one aero bolt on bag that doesn’t seem like it has a zipper on top. So I bought 1L model from here - https://www.aliexpress.us/item/2251832668022067.html It’s pretty good quality and has a insert in the base to keep it sturdy. Drilled two holes thru the base matching with my frame. Used two thick washers and bolted the thing on the top tube! Now I have $14 bolt on bag. March 21, 2023, 03:15:41 PM |
1 |
Re: Scratch in carbon fork
Just a scratch.  Good thing is it's in a place you can't really see  I've got a couple self-inflicted gouges in the same exact spot, but mine were caused by carelessly installing brake calipers and not looking at what I was doing. I've got a couple self-inflicted gouges in the same exact spot, but mine were caused by carelessly installing brake calipers and not looking at what I was doing.
April 26, 2023, 12:33:27 PM |
1 |
Re: Workswell WCB-G 358
Just received the frameset: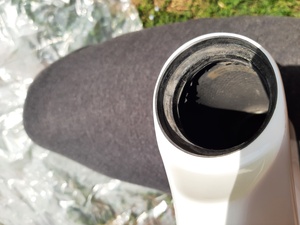 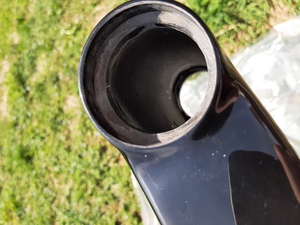 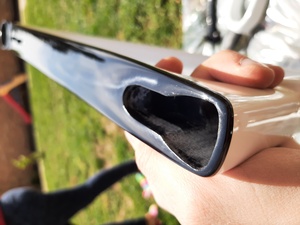   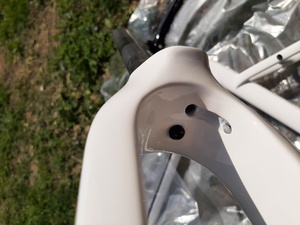 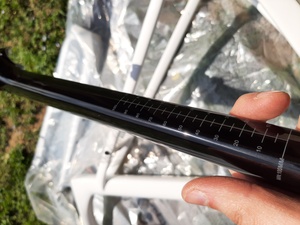 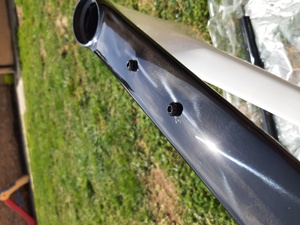 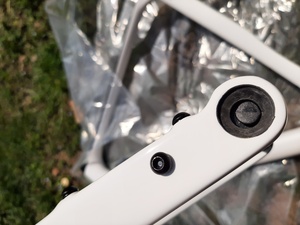 The quality seems to be very high, the paint is really smooth the transition from paint to the clear top tube is very good. Around the headset there isn't chip or something else April 27, 2023, 11:18:22 AM |
1 |
|
Chasing Wind CW-G-001 Gravel
Finally built this up and took for test ride. Few things to figure out but its done and nice and super light (disregard the eufy vac in the background) Size XL - 58 Blue and Silver Spank Oozy Vibrocore 440 Bar Fizik Blue Terra Bondcush 3mm tacky tape Fizik Terra Argo X5 Saddle 150 mm, this is the bomb FSA Gossamer crankset , 175 mm, 42T chainring Shimano 105 5800 Shifters for mechanical brakes Shimano GRX RD812 Rear Derailleur Sunshine 11-42 Cassette Chiner Oil slick 11 speed Chain Chiner Oil Slick 160 mm rotors TRP HY/RD Flat Mount cable actuated Hydraulic brakes Chiner KO Shimano XT SPD Pedals Toseek Carbon Bike Stem +/- 10 degrees 100mm Elitewheels ENT 29 mm wide 40mm depth 700C 6 bolt Carbon 12K Carbon Wheels 12X142 12X100 Vittoria Adventure Trail Tires 700X38C tubeless West Biking Black Plastic Cages Onlynana Bike Computer mount with light undermount Rockbros Bike light d3-1000 lumens 120 lumen WT06 Smart Rear Light RockBros Rainproof c35 Bag June 05, 2023, 11:40:32 PM |
1 |
|
Re: Chasing wind-GT20 OR Airwolf YFR045 carbon Gravel frames , any experience ?
Love my chasing wind frame. https://chinertown.com/index.php/topic,4243.msg46602.html#msg46602 June 15, 2023, 07:13:00 PM |
1 |
Velobuild GF-002 Bikepacking build.
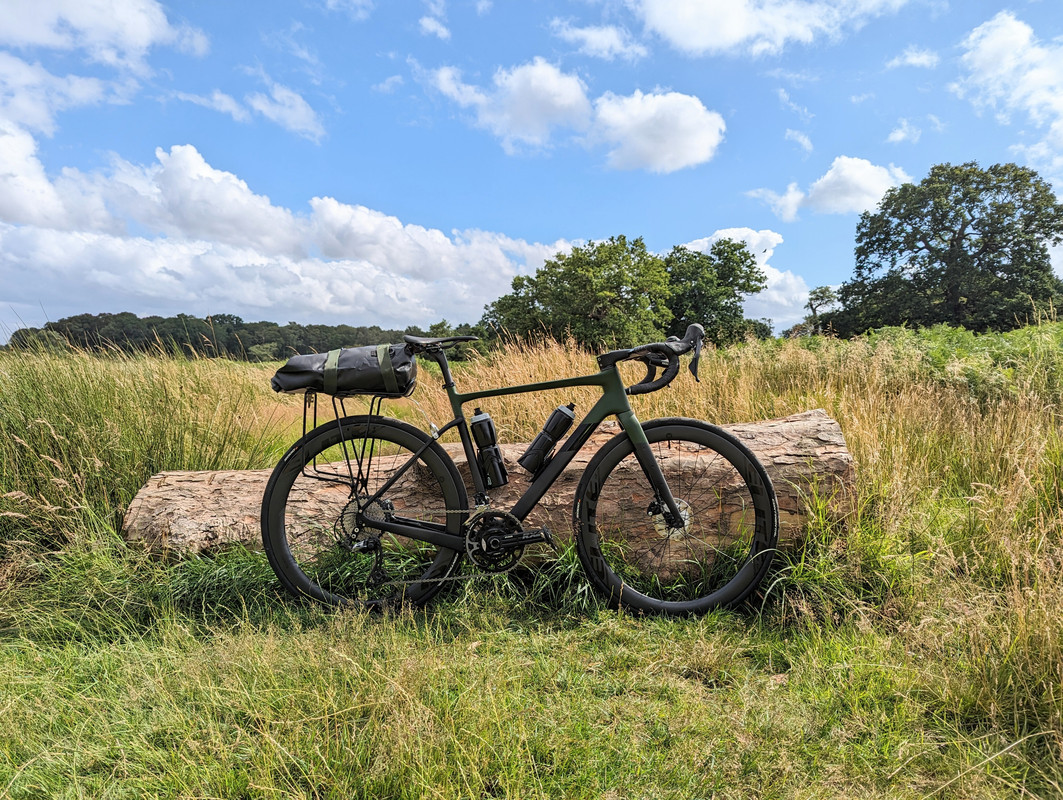 Just finished my Velobuild GF-002 build and wanted to share. The build was good fun but being my first time building a bike it was a struggle at points. The hardest part was internal routing 4x hoses including 2x Jagwire compressionless shift housings. I am also struggling to the get the front derailleur to shift up properly so need to do some more tinkering there. Issues: The rear brake flat mount on the GF-002 was completely off so I took it to a LBS to face the mount which worked, sadly they soaked the brake pads in mineral oil in the process.  I originally asked Velobuild for British Racing Green in Gloss and gave them a pantone which they confirmed was ok before ordering. After paying they effectively said 'sorry we dont have' and said I can have the frame in a 'similar' colour which in person is akin to Satin Army Green. Not what I was going for. Wasnt impressed with the paint quality either, there are noticeable edges where the colours change. Not gonna complain for a $60 paint job. I will eventually repaint myself. EliteWheels originally sent out the wrong wheels so I disputed and asked for a partial refund, then sold the wrong wheels on eBay and re-ordered the right ones. Was not too impressed with their service on Aliexpress including asking me to 'close the case to get a refund' and refusing to re-send the correct wheels unless I paid extra.  Re-ordered from them on another Ali account and had no issues. The wheels are the highlight of the build for me. 1320g @ 50mm depth 21mm internal and ratchet hubs for $620 is nice. The TPU inner tubes have plastic stems which dont seem to seal properly, the tyres lose a decent amount of air every week. Might try some PTFE tape on the valve core threads. I didnt research much in the saddle and will probably try a 3d printed one that TraceVelo recommended at some point, the Mixed one is pretty comfortable but I can see it getting a bit painful for 100+km days. Impressions: I have only ridden for about 100km or so but loving it so far, never had a drop bar bike so I didnt know what to expect. Aside from the FD not shifting up cleanly no issues so far. With the out of Shimano spec 11-40 cassette I need to be careful not to cross chain otherwise its not pretty. I'm already thinking the 34-40 gearing is a bit excessive and might switch to a 11-36 cassette or 1x but will wait for a while to tackle some more climbs. I will go on some longer trips next month and hopefully multi-day bikepacking in September.  Components: Velobuild GF002 Frame EliteWheels Edge Disc GRX600 2x11 Shifters GRX810 Rear Derailleur With Sunrace SP570 Extended link Shimano 105 Front Derailleur 11-40 SLX Cassette ZRace 50-34 Chainset Magene P505 Spider GP5000 32mm tyres Mixed 7D Saddle Newboiler TPU inner tubes IGPSport BSC200 head unit Total cost was around £2200GBP Weighs 8.3KG with pedals, no bottle cages. Let me know if you have any suggestions for the FD shifting, I'm thinking it maybe a qfactor issue and will try to swap some spacers around to see if it helps as the low screw is bottomed out and I feel like the shift cage needs to be further out. July 16, 2023, 01:50:25 PM |
1 |
|
How to run Di2 and a dropper post on a Flyxii FE-02 (and possibly other bikes)
I like electronic shifting, but I don't like DOT fluid, which means I have to use Di2. On my road bike, it took all of 10 minutes to install 105 Di2, but on my gravel bike I very much like also having a dropper post, which makes installation of the battery a problem. My goal with this post is to describe how I solved this problem on my Flyxii FE-02 frame, but the process should work for many other frames. You will need:
The process
Things that don't work:
January 06, 2024, 12:50:13 AM |
1 |

